
As you know my new hobby involves customising dolls. I have done a few face-ups but I want to expand into doing more than just the faces. Therefore I decided to try my hand at hair. There are 2 ways to change the hair on a doll. The first is to re-root the doll the other is to make a wig. Since I was too scared that I might ruin my doll by re-rooting her hair I decided to make a wig first. I used my Cloe Minifee doll for this as I don’t need to remove her hair since she had none to begin with.
Please note this post contains some doll nudity
I had an old purple wig from last years’ Halloween so I decided to use the hair from that.
It was already wavy and I didn’t need to style it in any way. I started off by cutting pieces of hair to the length of about 15 cm from the wig.
1. I used a piece of plastic and lay it flat on the table. I then used glue and a paintbrush and smeared a line of glue on the plastic. I then proceeded by placing strands of hair on the glue and giving it another coating of glue on top.
2. When it was dry I covered my doll with clean plastic and placed a wig cap on her head. I covered the whole doll so that I wouldn’t get any glue on her.
3. I then cut the rough edges off the dried hair pieces.

4. Next I then started at the bottom of the wig cap, applying some glue to the cap and placing the pieces of hair to the glued areas working my way up until half of the wig cap was covered with hair.

5.Then I drew a Line in the middle of the wig cap and proceeded by making the middle part ( watch this video for detailed instruction on how to make a middle part)
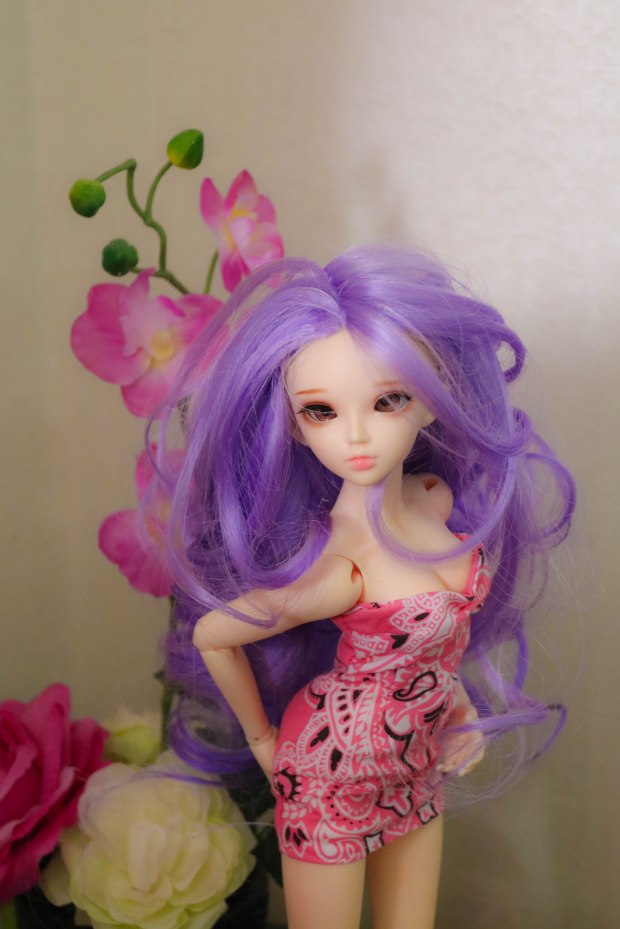
6. After the middle parting has dried I proceeded filling in the rest of the head with hair.

This process took me a few days because I didn’t realise how much hair would be needed for this specific doll and I could only work on her after work. This means that as soon as I ran out of hair I had to start at step 1 again and wait for the hair to dry before continuing.

